
Decoden planning · 5 MIN READ
Plan your decoden case or bag
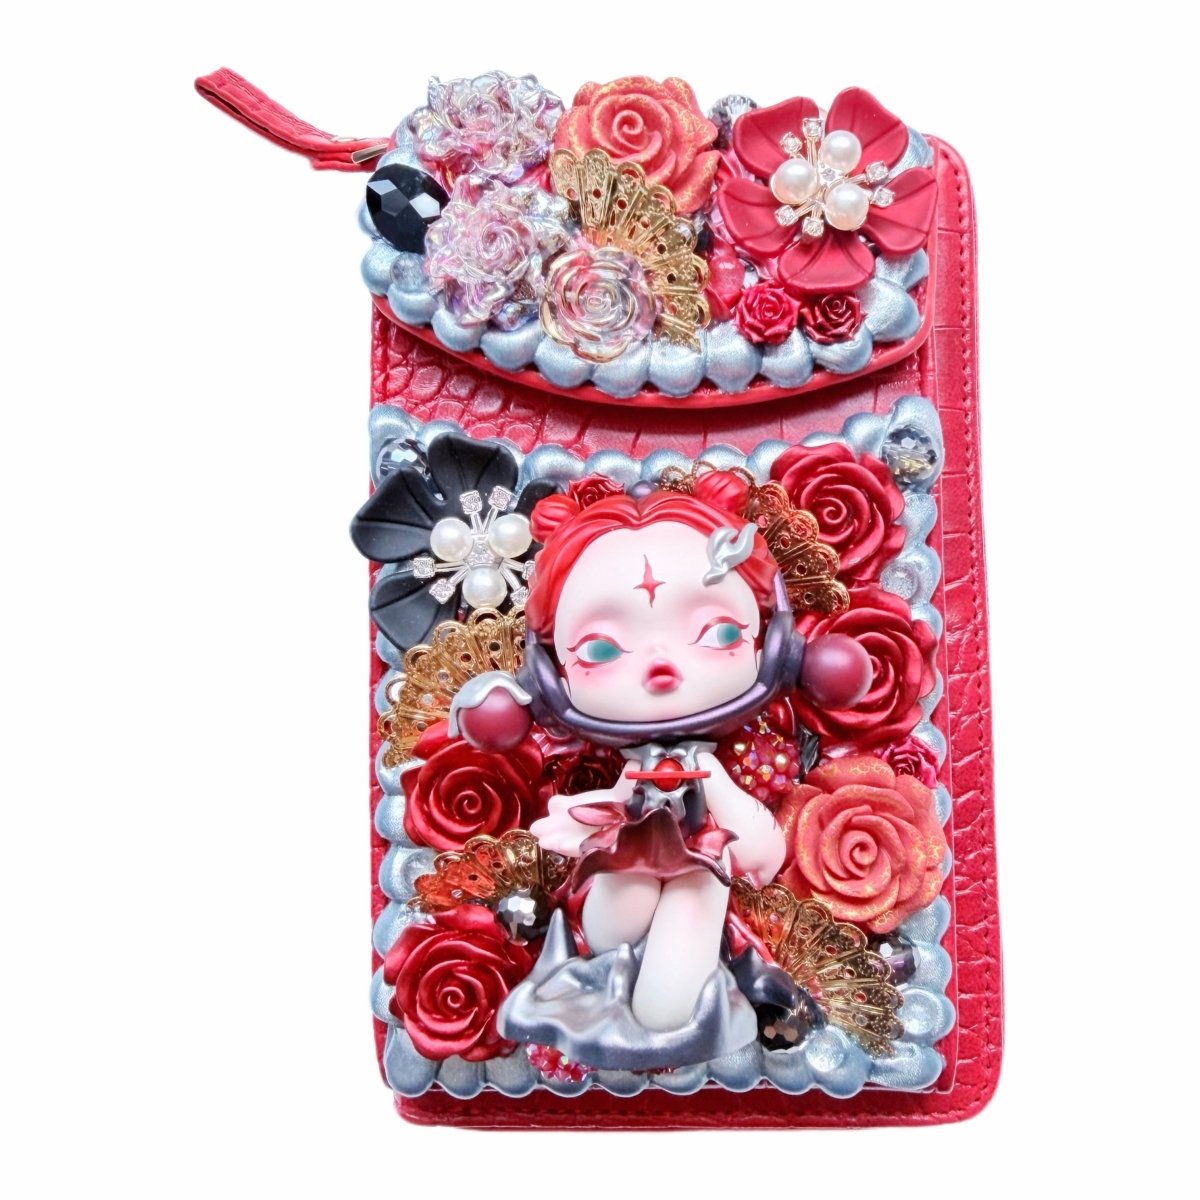
Before a single swirl of cream glue, give your idea a place to settle. This preparation guide helps you plan a phone case or decorated bag at its real size, with space for the things it still needs to do: open, close, charge or fit comfortably in your hand. You can finish the paper layout without glue. The material-testing section explains what to establish before bonding; it is not a tested KOSBLING glue recipe or a complete decoden build tutorial.
Gather your materials
- A spare phone case with the phone removed, or a photo and measurements of the bag you want to style.
- Plain paper, a ruler, a pencil and colored paper or swatches.
- Paper outlines of the decorations you are considering, or removable items you can position without adhesive.
- A camera for comparing layouts from the front and side.
- For a later sample: the exact adhesive or craft-clay package, the maker’s instructions and a separate piece of the same verified base material. You do not need glue to complete the layout exercise.

Make it, step by step
Draw the object at full size
Trace the empty case, or draw the bag panel from its measurements. Check the paper outline against the real item with a ruler. If you print a template, verify its dimensions rather than trusting the printer’s default scaling. This sheet will become your working plan.
Mark the spaces that must stay clear
Draw the camera opening, controls, charging opening, zip, clasp and any area that bends or needs to sit flat. Mark the places your fingers normally hold. Keep decoration away from these working areas in the paper plan. The right clearance depends on the actual object; this guide does not prescribe one universal margin.
Choose one focal point
Start with one larger paper shape for the main character or butterfly, then arrange smaller accents around it. A KOSBLING-inspired palette can begin with soft pink, lilac and butter yellow. Keep a little open space so each detail can be seen. The design can include favorite character colors without altering an original collectible.
Compare two layouts
Take a photograph, then move a few paper shapes to make a second arrangement. Compare the front view, side view and practical clearances. Record which version you prefer. Paper planning helps you spot awkward placement, but it is not proof that a later three-dimensional piece will be comfortable or durable.
Make a material record before bonding
Write down the exact glue or craft-clay name and model, its instructions and the base material. A label saying “cream glue” is not enough to determine compatibility or drying time. If the base is unknown, ask its supplier. Keep valuable figures, painted faces, hair and coated fabric out of the test process.
Plan a separate compatibility sample
Use a separate offcut or spare piece of the verified base, with the same surface finish. Follow the chosen material manufacturer’s preparation, thickness and drying instructions. Record the product, base and date. Do not try to improve an unknown formula by mixing in building caulk, solvent, paint or spray adhesive.
Separate touch-dry from ready for use
As one specific example, PADICO’s Creamy Whip Milk #404102 catalog gives about 2–3 hours for surface drying and 1–2 days for complete drying, and excludes several bases including silicone resin and polyethylene. Those are instructions for that material, not for KOSBLING’s glue or every phone case. If your product differs, its own label governs the wait.
Save the plan and choose the next step
Keep your full-size layout, photographs and material record together. If the material or base cannot be confirmed, stop at the design stage and share the plan with the studio. If a later sample is suitable, the next tutorial should document that exact material combination with actual making photographs before presenting a full build.
Pack it thoughtfully
- A paper design plan has no curing wait. Keep it flat in a folder or between clean boards if sending it with a gift.
- For any later glued piece, finish the exact product’s specified drying or curing process before packing; do not infer readiness from a dry-looking surface alone.
- When a finished item has raised details, design the inner support so packing pressure does not land on fragile projections. Wrap pieces separately and immobilize them with appropriate cushioning.
- FedEx’s breakables guide describes individual wrapping, centered placement and cushioning; its double-box example uses about 3 inches of cushioning around the inner box. Choose packaging for the actual object and verify the fit rather than applying that size to every soft accessory.
Your questions, answered
Can I finish this exercise without cream glue?
Yes. The main project is a full-size paper layout. You can complete it with paper shapes, measurements and photographs, then decide whether to make a physical sample or discuss a custom piece.
Does KOSBLING use the PADICO material mentioned here?
This article does not make that claim. PADICO is a named manufacturer example that shows why product identity and base compatibility matter. KOSBLING’s current glue formula is not specified in this guide.
Is every hard phone case suitable for decoden?
No such guarantee is made here. The exact plastic, coating and adhesive combination matters. Confirm the materials and use a separate sample instead of relying on the word “hard.”
Does “dry to the touch” mean fully cured?
Not necessarily. Read the product’s separate handling and full-dry or cure instructions. Never transfer an online drying estimate from one glue or clay to another.
Can I use my rare figure as the sample?
Use a separate base-material sample. This preparation guide avoids drilling, sanding, cutting or gluing original collectible figures.
References & further reading
- PADICO: Creamy Whip Milk #404102 product and basic handling
- PADICO: 2025 craft-tools catalog, drying times and incompatible bases
- Plaid: Mod Podge Gloss, dry time versus full cure
- FedEx: packing breakable items
- Community question: drying a first decoden project
- Community question: cream-glue layers peeling from cases